
A paper suncatcher is a cheerful summer craft that gives children a clear result in one sitting.
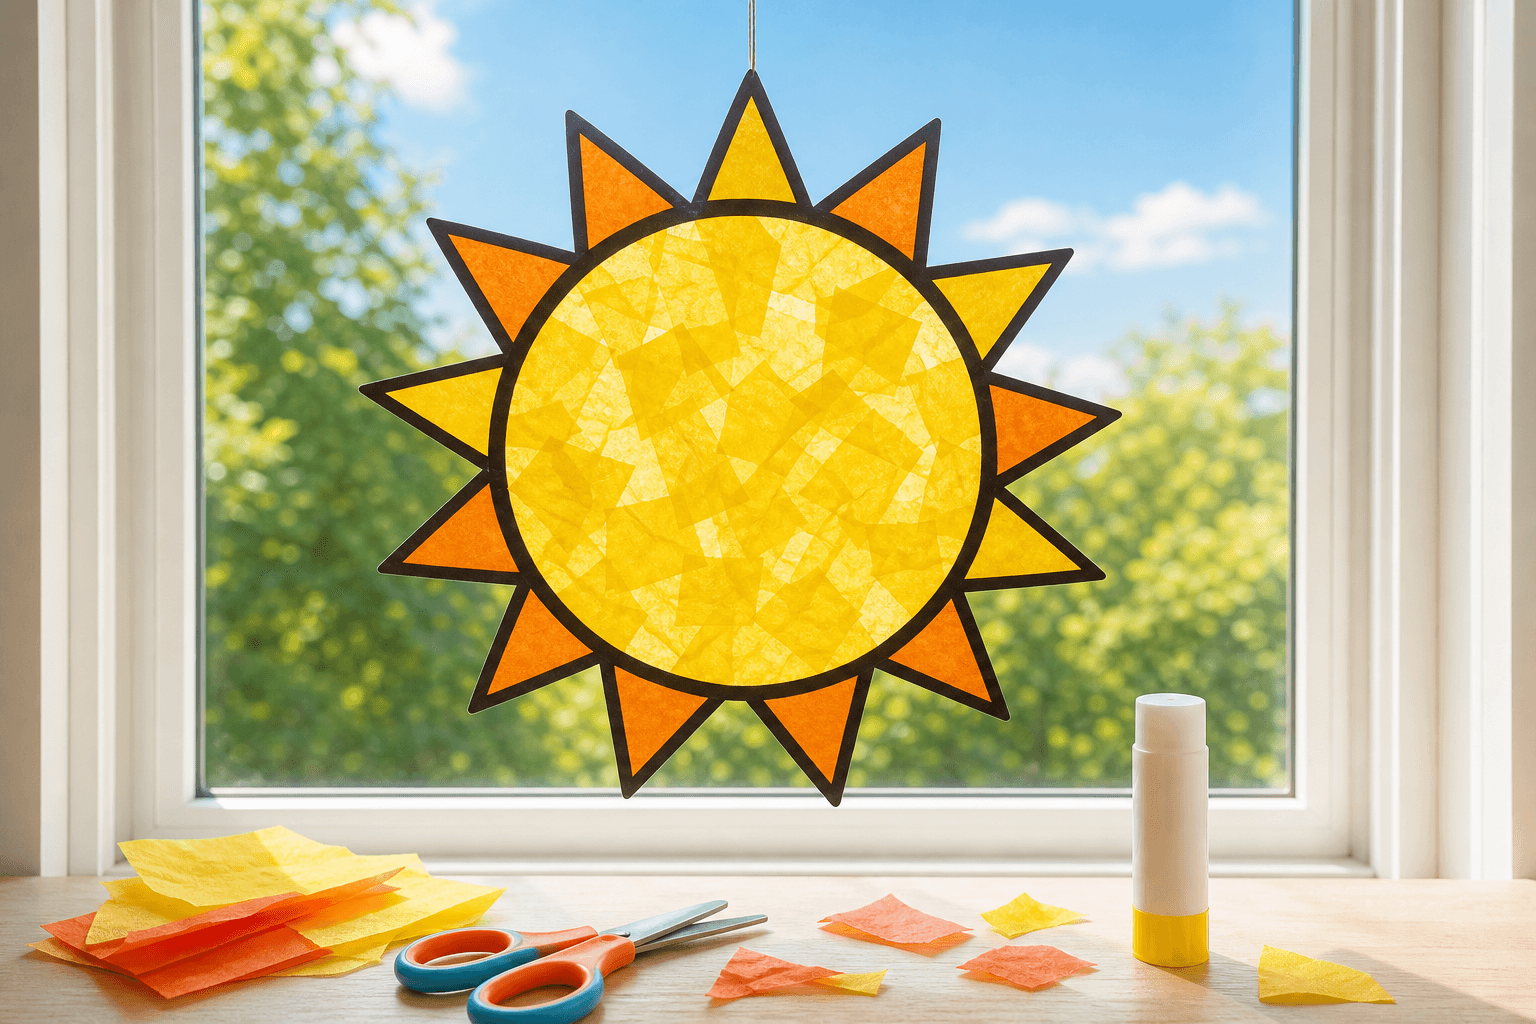
Use tissue paper for color and cardstock for a sturdy frame.
Set up the work area before cutting anything. Cover the table with scrap paper, sort the colors into small piles, and leave a child with only the tools they can use safely. Make one test piece first. It quickly shows whether the paper is sturdy enough, the adhesive is working, and the template is the right size before a whole batch is cut.
For clean edges, do not try to cut a complicated outline in one long movement. First separate the shape roughly from the sheet, then follow the line slowly with small cuts. When a design has layers, arrange them without glue before assembling. This makes it easier to align the pieces, preserve the color balance, and avoid remaking the whole craft after one misplaced layer.
After assembling, let the project rest flat for 10 to 15 minutes. If glue has made the paper curl, place a clean sheet and a light book over it. Once it is dry, check the attachment points, the edges, and the spacing between decorative pieces. That short finishing check matters most for a craft that will hang up, sit on a desk, or be photographed.
Plan the activity so that each child completes one action: choosing a color, attaching a layer, or checking the finished shape. Small differences are part of handmade work, so do not correct every imperfection. For a classroom batch, display one sample and split the activity into stations for cutting, decorating, assembling, and attaching.
Quick plan
- Best for ages 4+ with cutting help.
- Hang on a clean, dry window.
- Use contact paper instead of liquid glue for less mess.
Materials
- Yellow and orange tissue paper
- Black or dark cardstock
- Contact paper or clear tape
- Child-safe scissors
Easy variations
- Make a rainbow instead of a sun.
- Use flower or ocean shapes.
- Turn several small suns into a window chain.
Choose the right version
| Version | Best for | Time |
|---|---|---|
| Simple | Younger children | 15 minutes |
| Layered | A class display | 30 minutes |
| Personalized | A gift or photo | 25 minutes |
Keep the shapes large and the color palette short: the finished craft will look cleaner and be easier for children to make.
Step-by-step
| Step | What to do |
|---|---|
| 1 | Cut a large circle and rays from cardstock. |
| 2 | Cover the open center with contact paper. |
| 3 | Press small tissue-paper pieces onto the sticky side. |
| 4 | Seal the back and hang it in the window. |
Common mistakes
- Using too much glue, which clouds the light.
- Making thin rays that bend easily.
- Putting it on a dusty window.
FAQ
What paper works best?
Tissue paper lets the light through; cardstock keeps the frame firm.
Can preschoolers make it?
Yes. Pre-cut the frame and let children place the tissue pieces.
This craft is easy to repeat with seasonal colors and makes a bright addition to a summer activity table.
For another quick folded project, try paper corner bookmarks.