
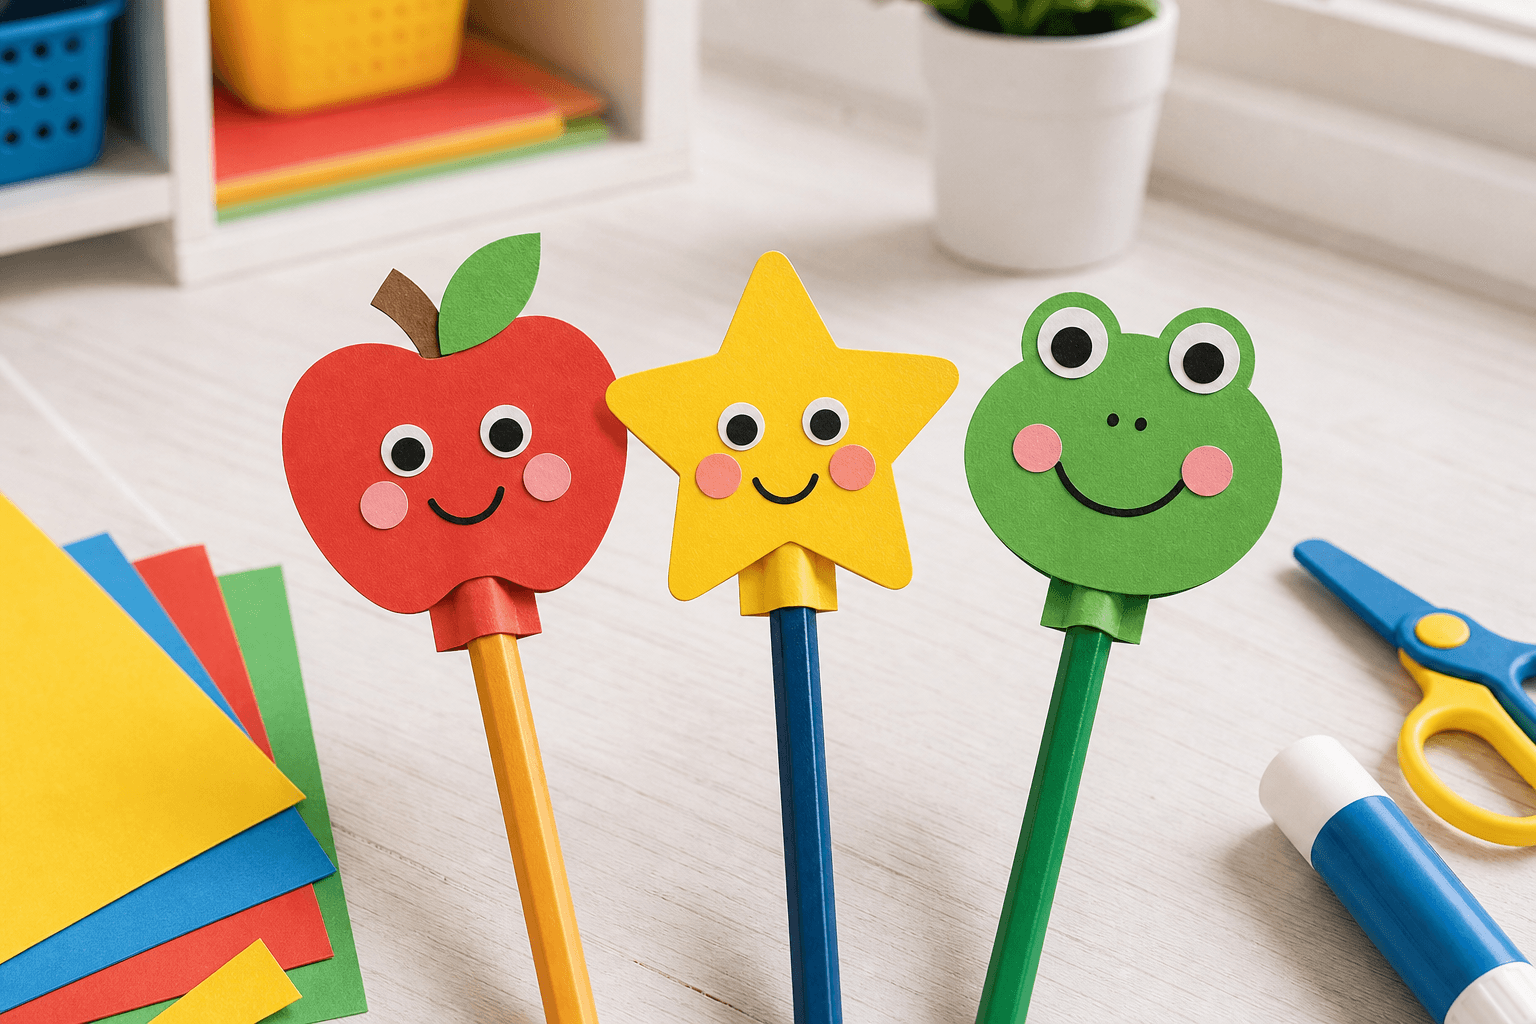
Paper pencil toppers are quick to make, useful on a desk, and easy to personalize.
Keep the topper light so it does not make the pencil tip over.
Set up the work area before cutting anything. Cover the table with scrap paper, sort the colors into small piles, and leave a child with only the tools they can use safely. Make one test piece first. It quickly shows whether the paper is sturdy enough, the adhesive is working, and the template is the right size before a whole batch is cut.
For clean edges, do not try to cut a complicated outline in one long movement. First separate the shape roughly from the sheet, then follow the line slowly with small cuts. When a design has layers, arrange them without glue before assembling. This makes it easier to align the pieces, preserve the color balance, and avoid remaking the whole craft after one misplaced layer.
After assembling, let the project rest flat for 10 to 15 minutes. If glue has made the paper curl, place a clean sheet and a light book over it. Once it is dry, check the attachment points, the edges, and the spacing between decorative pieces. That short finishing check matters most for a craft that will hang up, sit on a desk, or be photographed.
Plan the activity so that each child completes one action: choosing a color, attaching a layer, or checking the finished shape. Small differences are part of handmade work, so do not correct every imperfection. For a classroom batch, display one sample and split the activity into stations for cutting, decorating, assembling, and attaching.
Quick plan
- Best for classroom stations and party favors.
- Use a paper loop or slit instead of permanent glue.
- Make matching sets in two or three colors.
Materials
- Cardstock
- Pencils
- Scissors
- Glue or tape
- Markers
Easy variations
- Apple face for a teacher gift.
- Star for a reading reward.
- Frog, cat, or monster for a child’s desk.
Choose the right version
| Version | Best for | Time |
|---|---|---|
| Simple | Younger children | 15 minutes |
| Layered | A class display | 30 minutes |
| Personalized | A gift or photo | 25 minutes |
Keep the shapes large and the color palette short: the finished craft will look cleaner and be easier for children to make.
Step-by-step
| Step | What to do |
|---|---|
| 1 | Draw and cut a simple topper shape. |
| 2 | Add eyes, leaves, or a small pattern. |
| 3 | Cut two short slits at the base. |
| 4 | Slide the topper over the pencil. |
Common mistakes
- Making the topper too large.
- Covering the pencil tip.
- Using wet paint that smudges.
FAQ
Do toppers fit every pencil?
Two small slits make the fit flexible for most standard pencils.
Can a class make them quickly?
Yes. Pre-cut shapes and let children decorate and assemble.
Use the same palette on desk labels for a coordinated first-week classroom setup.
Pair them with paper name tags.